
Key Takeaways
Identifying signs of deterioration in minting equipment is a valuable skill for any hobbyist to cultivate. This guide outlines the markers that define how production tools fail over time.
- Understanding the natural progression of metal fatigue in Mint dies.
- Recognizing the specific flow lines and mushy textures on struck surfaces.
- Learning to distinguish die-related indicators from typical circulation wear.
- Utilizing proper examination tools like magnifiers and side-lighting techniques.
- Differentiating between minor mechanical errors and true die deterioration doubling.
Understanding die wear in the minting process
Modern minting relies on massive pressure exerted by hardened steel dies to transfer image onto planchets. These steel components endure thousands of strikes every hour, undergoing intense physical stress as the metal moves. Over time, the constant collision with blank planchets causes the die face to settle, lose detail, and eventually succumb to the physical rigors of high-volume mass production.
The life cycle of a coin die
Each die begins its life as a master hub creation, crafted with deep recesses and sharp edges that define the coin’s relief. As it enters production, the surface is pristine, producing coins with crisp imagery and clear fields. Collectors looking to learn more about these mechanical stages often consult resources like the ultimate guide to mint error coins to see how pristine tools slowly degrade during their brief, high-impact operational window.
Softening and heat cracking explained
Temperature changes inside the press play a major role in how steel surfaces survive, as improper cooling can cause the metal to lose its structural tempers. When a die suffers from poor heat treatment, the surfaces begin to warp prematurely, often leading to spider-webbing cracks throughout the design. This softening process causes the metal to flow inconsistently during the striking stroke, leaving behind blurry or indistinct features that mark the end of the die’s useful service life.
Why dies degrade through repeated striking
The sheer frequency of strikes means that every coin produced exerts a massive, albeit microscopic, wear pattern on the die surface. This phenomenon creates progressive surface deterioration where the fine details begin to blur or vanish as the steel becomes impacted by the copper or nickel planchets. Consistent monitoring of these patterns helps analysts at facilities like Jim’s Coins and Stamps track when a specific press cycle has moved from peak efficiency toward inevitable failure.
The relationship between pressure and design longevity
Pressure settings must remain precise to ensure the die does not strike too heavily against its counterpart, which would drastically reduce its longevity. If the pressure exceeds optimal limits for a given metal composition, the die face will flatten out at a faster rate than expected. This physical imbalance forces the minting team to pull the die from the press, resulting in a cessation of that particular die state and a shift to a fresh replacement.
Visual indicators of worn die features
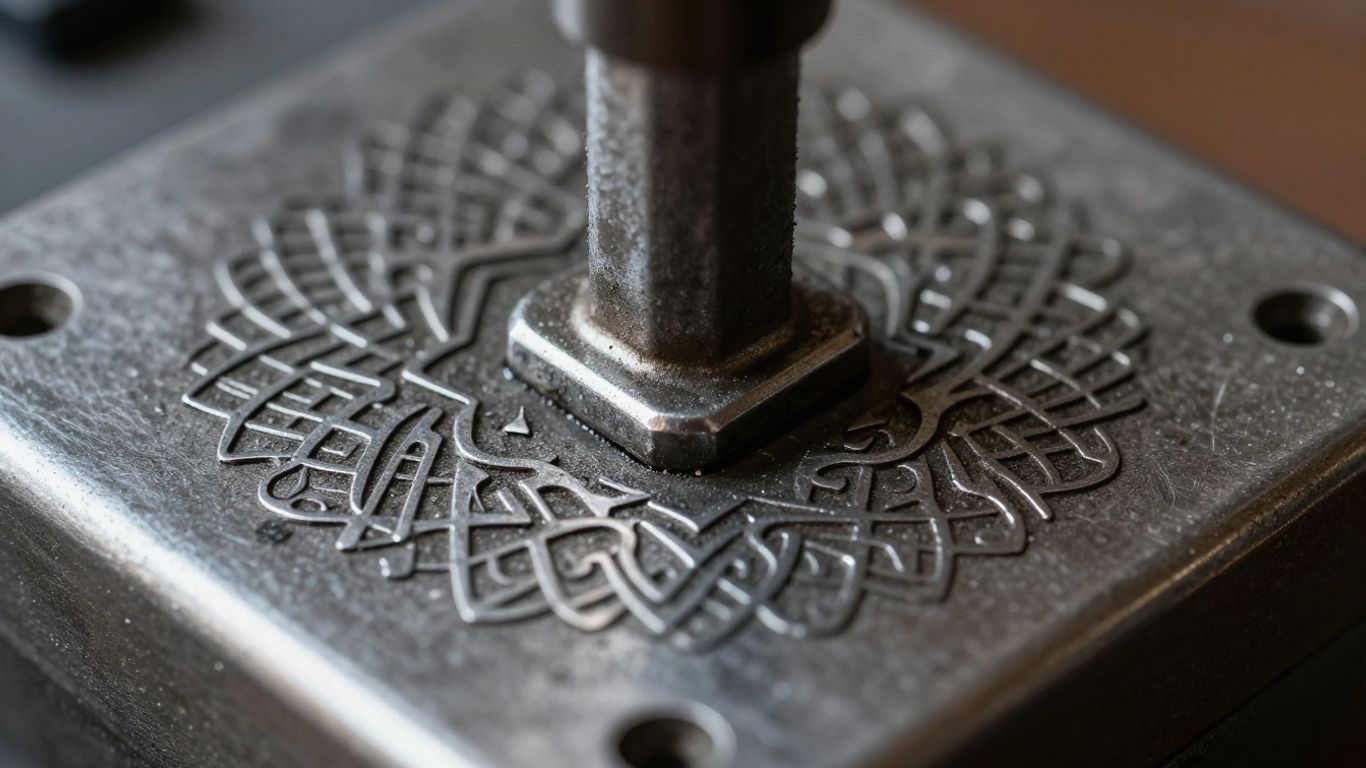
Visual inspection requires identifying specific markers that develop on the surface of the coin when the die is no longer in premium condition. These indicators result from the cold flow of metal under extreme pressure hitting a surface that has lost its original architectural integrity. Collectors can find useful visual comparisons for these errors by examining a 2016-P Harpers Ferry quarter that shows these late-stage degradation symptoms clearly.
Identifying radial flow lines
Radial flow lines appear when metal is pushed from the center of the planchet toward the rim during the strike, catching against the worn surface of the die. These tiny lines follow the path of the metal’s movement, looking like microscopic streaks that curve toward the edges of the piece. While these are common on late-state dies, they should not be confused with the luster lines found on freshly minted specimens, which are typically uniform and bright.
The appearance of soft or mushy lettering
When a die reaches a critical point of fatigue, the crisp edges of letters and numerals become rounded, resulting in what collectors term a mushy look. This softness occurs because the die’s internal relief has essentially been pounded down, failing to press deep into the blank planchet. This specific aesthetic is often cited in error coin discussions where hobbyists debate whether such effects represent a strike issue or a simple lack of detail resulting from a dying tool.
Fading of high-relief design elements
High-relief points are usually the first to lose clarity because they withstand the highest amount of strike impact. As the die continues to operate, these features begin to blend into the fields, sometimes becoming entirely smooth or shallow. The loss of subtle details—like hair strands on a portrait or fine lines in an eagle’s feathers—serves as a primary identifier that the steel tool has moved far beyond its initial minting capabilities.
The orange peel surface texture effect
Occasionally, the metal surface of a coin will display a bumpy, uneven texture, which is frequently described as having an orange peel appearance. This occurs due to the breakdown of the die metal itself, where the surface becomes slightly porous and irregular before cracking entirely. Detecting this subtle texture requires magnification, as it is often invisible to the naked eye while looking at a standard specimen in normal lighting.
Differentiating worn dies from worn coins
Distinguishing between a coin that suffered during production and one that degraded after leaving the mint is a foundational skill for numismatists. While a worn coin shows contact marks and friction from handling, a piece struck from a tired die exhibits consistent softness across every element of the planchet. Examining the types of coin errors helps collectors learn the subtle difference between circulated friction and the uniform weakness of a poor initial strike.
Comparing raised metal versus recessed circulation wear
Circulation wear manifests as high points being rubbed down, which results in flat areas of exposed, smoothed metal. In contrast, if a coin was struck from a failing die, the metal will look recessed and blurred, yet the individual points that should be in relief are still technically present, just lacking definition and density. This is a crucial distinction, as true wear is additive through time, whereas die-related issues are locked into the metal the moment it leaves the minting facility.
Analyzing the sharpness of the coin's rim and edges
The rim provides a clear diagnostic location because its sharp, defined edge is usually struck with significant force. If the rim appears flattened or incomplete despite the main design showing wear, it may suggest a striking issue rather than post-production damage. A well-struck edge remains thick and uniform, while extreme die fatigue often makes the outer boundaries of the coin appear wavy or indistinct, especially when the collar has not fully contained the metal flow.
Assessing consistency across multiple strike points
Consistency is the hallmark of a true die issue; if the letters on the left side of the coin are mushy while the ones on the right are sharp, you are likely looking at a strike that was simply not perfectly centered. A worn die, however, will typically demonstrate a pervasive softness across the entire design, as the die surface has essentially worn down globally rather than locally. When collectors see a consistent degradation, they often categorize the piece as a rare error coin worthy of deeper analysis.
Detecting signs of die fatigue versus intentional damage
Intentional damage, such as deep scratches or rim gouges, displays as abrasive contact that breaks the natural luster of the coin surface. Die fatigue, on the other hand, maintains the original mint texture, even if that texture is blurred or distorted from the start. You can organize your collection by creating a table to track these differences between strike quality and historical wear.
| Condition Type | Visual Marker | Comparison Point |
|---|---|---|
| Standard Circulation | High-point smoothing | Consistent metal color |
| Worn Die Strike | Uniformly mushy details | Original field luster |
| Intentional Damage | Scratches and gouges | Irregular surface lines |
After documenting these indicators, it becomes much easier to filter out coins that were simply dropped in a pocket change jar versus those that emerged from the press as unique, flawed examples of the minting process.
Impact of die wear on coin value and collectibility
Collectors often view dramatic examples of degradation as historical artifacts that show just how far the mint was willing to push a single set of tools. While a pristine coin usually commands the highest premium, late-state die coins offer a glimpse into the production process that appeals to specific niche collectors. Understanding the valuation of error coins can help you determine whether your specific discovery carries enough historical significance to be considered a primary piece of your collection.
Rarity and collector interest in late-stage die states
Some hobbyists actively seek out coins from the absolute final hours of a die’s existence, where the design is barely recognizable due to extreme deterioration. These extreme cases are limited in number, as mint workers would eventually replace the die to maintain quality standards, naturally capping the supply. This artificial scarcity drives interest among those who enjoy collecting the extreme logical endpoints of the minting process.
Market demand and valuation for dramatic die deterioration
Valuation for these types of coins is highly subjective and depends largely on the level of visible distress. A coin that is clearly damaged through poor die quality may be seen as a curiosity, whereas one with subtle, interesting markers might fetch higher prices as a collectible variety. Much like the process of selling your home independently, collectors must research the comparable sales records to see what prices these specific errors are achieving in the current market.
Documenting specific die states for professional authentication
Authentication involves documenting the specific stage at which the coin was struck, which can be difficult without reference specimens of the same die pair. Collectors often write down the serial progression of light-to-heavy erosion to prove that their coin belongs to a recognizable, documented state of failure. Proper documentation significantly increases the chance that a major grading firm will attribute the piece correctly.
The importance of die progression in variety collecting
Die progression refers to the chronological study of the die as it fails, providing a roadmap for future collectors who wish to know exactly when a detail began to fade. This helps hobbyists understand the timeline of production and allows for a clearer picture of how long individual dies lasted before they were retired. Many collectors find that maintaining a detailed inventory helps them identify the progression of their own finds against those held by major institutions.
Tools for examining die wear effectively
Diagnostic inspection of these features requires patience and the correct optical equipment to reveal what is hidden in the fine lines. Because the signs of metallic failure are microscopic, standard eyesight is rarely enough to distinguish specific flow patterns from simple surface scratches.
Selecting the right magnification for diagnostic inspection
Using a simple 5x or 10x jeweler’s loupe is essential for capturing those subtle flow lines that indicate a tired die. For those who want more detail, digital microscopes offer a way to view the coin on a screen, making it easier to notice slight differences in relief depth. If you struggle to hold your magnifier steady, consider investing in a mount or a small stand that keeps your field of vision constant during the entire inspection.
Utilizing proper high-contrast lighting angles
Lighting is perhaps more important than magnification, as the angle of incident light defines how the raised and recessed areas appear to the eye. Utilizing a side-lighting technique—angling a lamp so light rakes across the surface—creates long shadows that highlight the fading of fine elements. Once you have mastered your lighting setup, it is easier to document these features and share your findings in community forums.
Tips for capturing high-quality macro photography of die errors
Capturing the perfect image of a worn feature involves balancing depth of field with enough light to keep the image sharp. Many collectors use a simple smartphone attachment or a dedicated macro lens to document their finds, ensuring the focus is locked on the most damaged part of the relief. Always capture your images in a consistent, neutral environment so that other observers can accurately gauge the wear without being tricked by artificial shadows.
Maintaining a reference database for comparative analysis
Creating a digital log of every coin you examine provides a massive advantage when identifying future pieces. By cataloging the dates, mint marks, and specific die conditions, you effectively build a custom reference point for the future. Consider these steps for your own database:
- Photograph the obverse and reverse of each suspect coin.
- Note the date and mint mark of the specimen.
- List the specific markers observed, such as radial lines or mushy text.
- Save your image files in a folder structure organized by series.
Common misconceptions about worn die features
New collectors often conflate the natural results of a tired die with other types of minting errors or post-mint accidents. It is vital to separate these categories to ensure accuracy in your collection.
Confusing die wear with post-mint damage
Post-mint damage usually breaks the "skin" or the natural metallic flow of the coin, which is never the case with true die issues. If you notice a line that looks like it dug into the surface rather than sitting above it, you are likely looking at damage that occurred at home or in the wild. Real die issues are always contained within the original metal strike and will pass through the highest parts of the design without tearing the fabric of the surface.
Distinguishing mechanical strike doubling from die deterioration doubling
Mechanical doubling occurs as a brief, shifting contact between the die and the planchet, leaving behind a flat, shelf-like secondary image that lacks true detail. Die deterioration doubling, however, happens when the metal flows into the worn, soft recesses of a tired die, creating a rounded, mushy look that lacks those sharp shelf edges. Understanding this dichotomy is one of the most useful skills for filtering out common, low-value pieces from your search.
Debunking myths regarding official mint records and die age
There is a common belief that the Mint keeps perfect, public records on exactly how many coins every single die produced, but this is rarely the case. Official numbers often track the totals for a specific period rather than individual die tool lifespan, making it difficult to pinpoint the age of a specific die. Collectors rely more on their own visual evidence and comparative studies than on any mythical ledger of die ages.
Recognizing the difference between clash marks and general wear
Clash marks happen when two dies strike each other without a planchet in between, leaving ghostly imprints of images on the opposing faces. These are distinct from general wear, which degrades existing shapes instead of adding ghost imagery. Always check for both types of indicators to be sure you have correctly labelled your piece of numismatic history.
Conclusion
Recognizing the subtle markers of die deterioration provides a fascinating look into the technical challenges faced by the minting press. Once you can differentiate between standard circulation wear and the specific metallic signatures left by a failing tool, you become much more equipped to identify pieces that genuinely hold historical value within your own collection.
Frequently Asked Questions
Can die wear increase the value of a coin?
While most worn-die coins are worth their face value, dramatic degradation can occasionally command premiums from specialist collectors who appreciate unique minting history.
Does die wear look the same on all metal types?
Different metals flow and react differently under pressure, meaning the specific appearance of flow lines can vary between copper, silver, and clad specimens.
How many coins can a single die produce before wearing out?
Production totals vary greatly depending on machine pressure and metal composition, but most dies produce thousands of consistent strikes before failing.
Is it possible to find die wear on proof coins?
Proof coins are struck with higher pressure and extra care, making die wear much rarer, though it still occurs if a die remains in service for too long.
Can I use a regular magnifying glass to see radial flow lines?
While a basic glass might show large indicators, a dedicated 10x jeweler’s loupe is usually required to see the fine lines associated with early-stage wear.
Are worn die coins considered legitimate errors?
Yes, these are categorized as die errors, but they are generally less sought after than strike errors or planchet errors unless the deterioration is truly spectacular.
Why does some lettering look like it has doubled?
This is often die deterioration doubling, where the metal flows into the worn edges of the die, making the lettering look thick and blurry instead of crisp.